This puzzle was formerly sold by Crafty Puzzles and is retained as a free reference item. It is no longer available to purchase from this website.
Original Crafty Puzzles photographs
Higher-resolution photographs from the original Crafty Puzzles archive are shown below. Select an image to view it larger.
Is this your version?
Similar puzzles can need completely different solutions. Check the piece count, shape and construction before you continue.
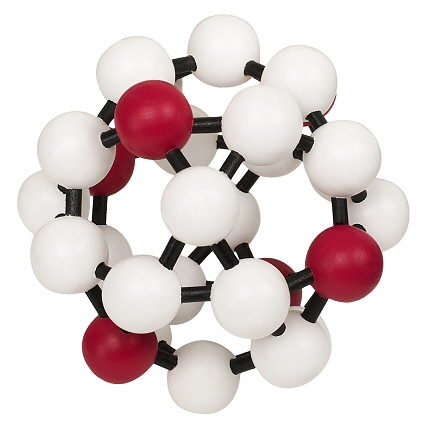
Atom
This is the puzzle page you are viewing. Compare its piece count and photographs with the alternatives before using the solution.
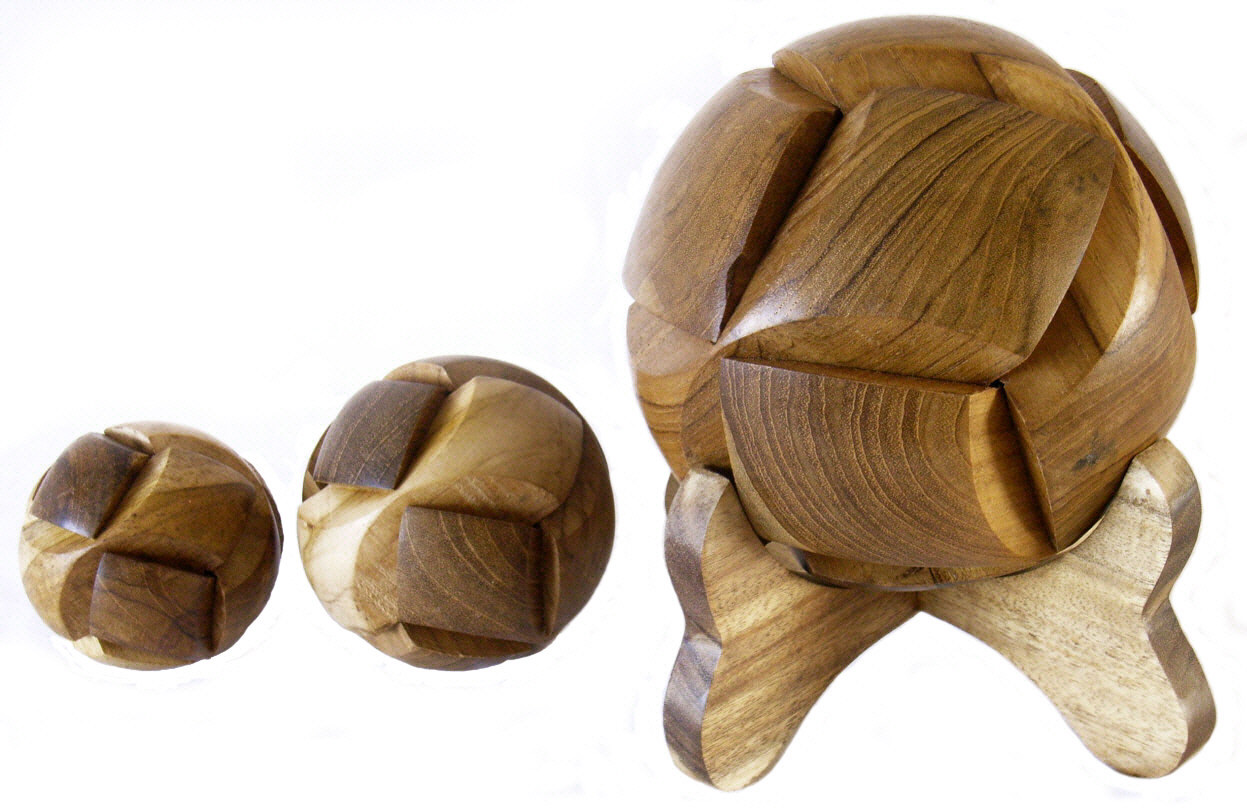
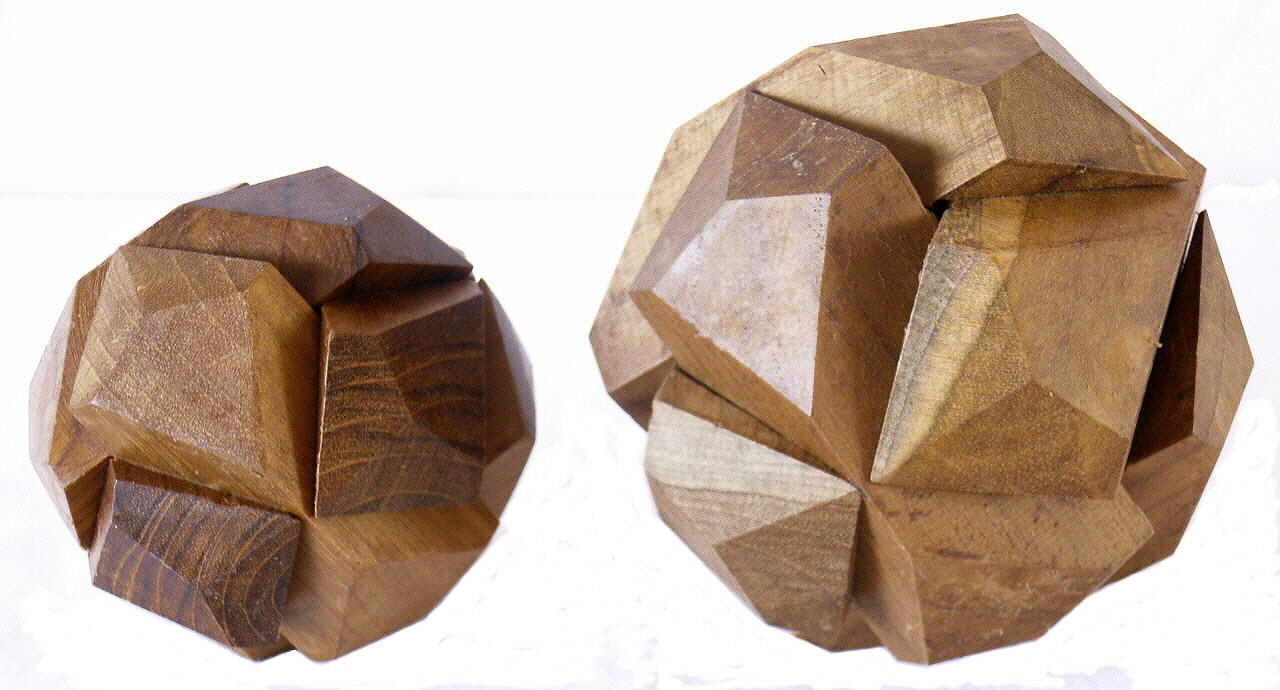
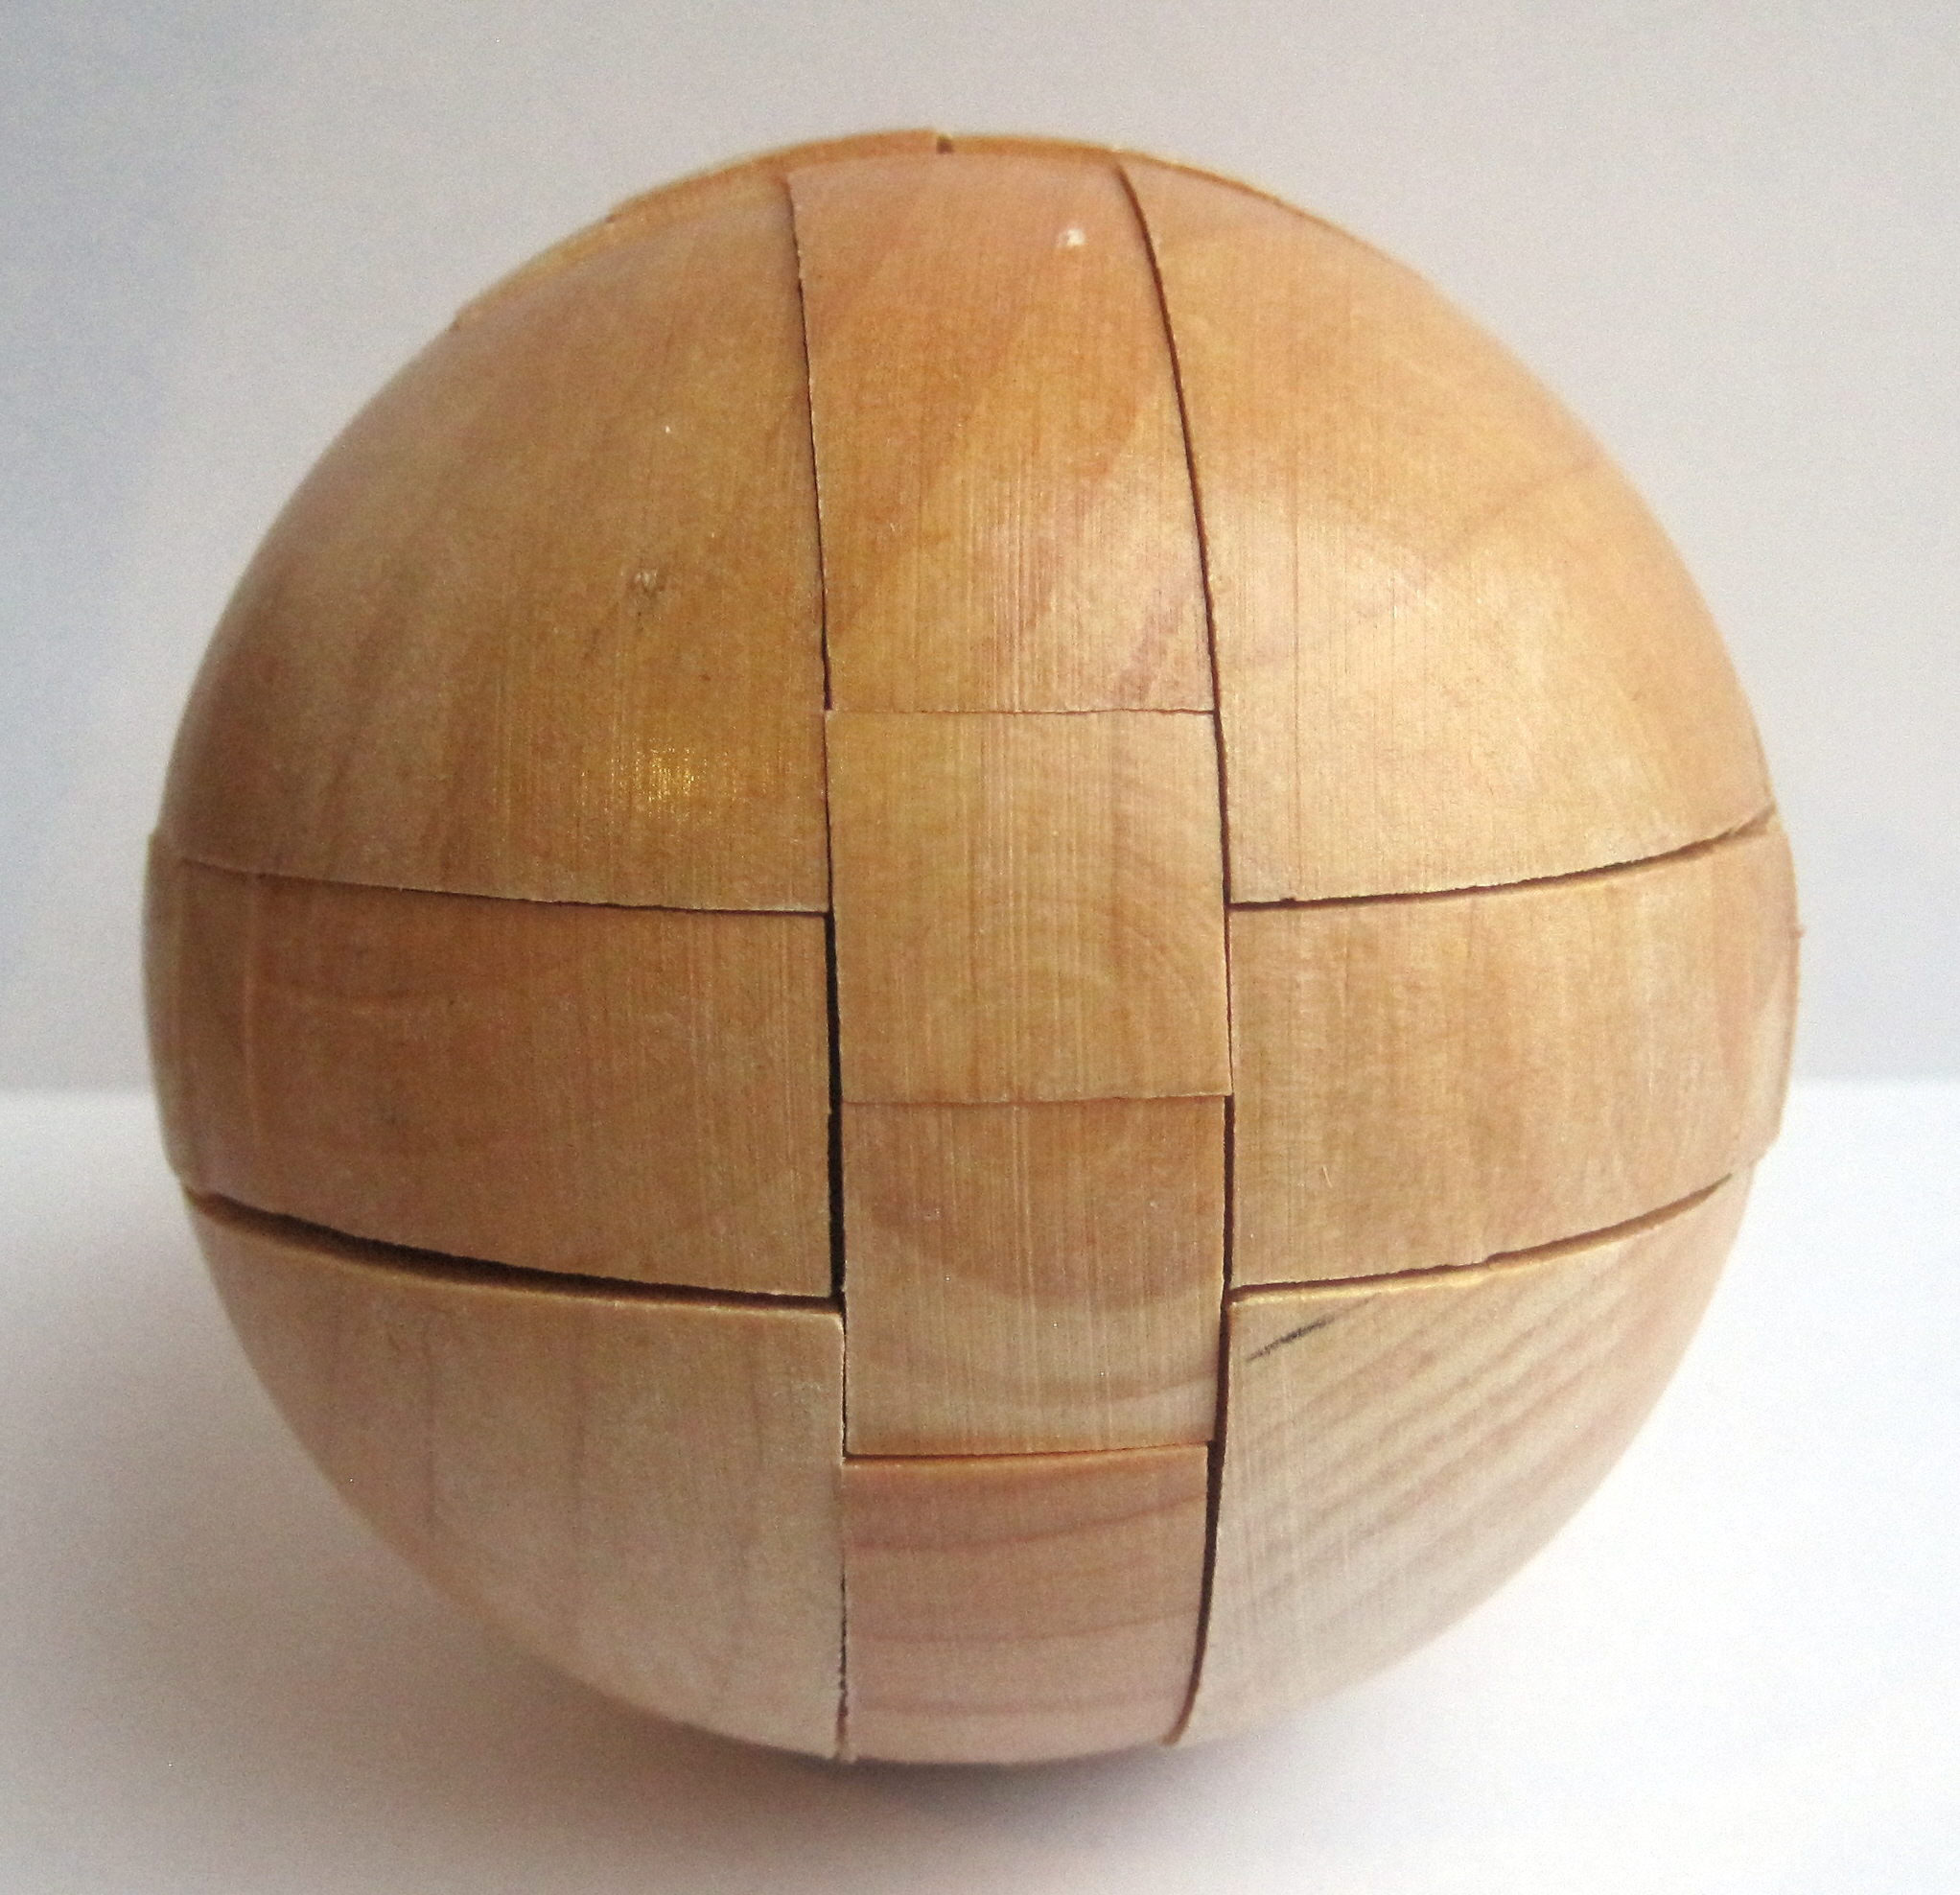
Still unsure? Use Puzzle Detective to combine a photo with physical clues.
Try a hint before revealing the answer
Open one hint at a time to preserve some of the challenge.
Hint 1
The preserved sheet is arranged as paired views A1/A2, B1/B2, C1/C2 and D1/D2. Treat each pair as two views of the same stage.
Hint 2
Keep the small round nodes and connecting rods oriented exactly as shown. The paired views help you check which rods point toward or away from you.
Hint 3
Use D1 and D2 as the final check: the completed cluster sits inside the rectangular outline. If the outer nodes do not align, return to the previous paired view.
How to use the preserved instructions
Read each lettered pair together: A1/A2 establishes the first ring-like arrangement, B1/B2 and C1/C2 add the next connected groups, and D1/D2 checks the completed assembly from two viewpoints. Keep the diagram visible while turning the puzzle so your orientation matches the drawing.
What the Atom archive diagram shows
The original sheet does not use a conventional numbered component key. Instead it shows the construction developing through paired viewpoints, from a small circular cluster to a denser three-dimensional assembly. The last pair places the completed form inside a rectangular outline, which is the clearest reference for checking the final orientation.
Complete Atom solution
The original Crafty Puzzles instruction diagram is preserved below.
Reveal the Atom solution diagram
Select the diagram to open a full-screen zoomable view. The original file is also available for printing.
Did this solve your puzzle?
A quick answer helps us improve the guidance without asking for personal details.
Find this or a similar puzzle
Retailer stock changes frequently, so these links search for Atom wooden puzzle rather than displaying unverified prices or availability.
Advertisement / paid links: As an Amazon Associate I earn from qualifying purchases. As an eBay Partner, I may be compensated if you make a purchase.
The Amazon button selects UK or US from your browser region; you can switch it above. Amazon OneLink may redirect other supported countries when configured. How affiliate links support the archive.
Source and verification
- Archive source
- Original Crafty Puzzles archive material
- Information checked
- 13 June 2026
- Verification status
- Archive-preserved; not independently physically tested
- Page status
- Original Crafty Puzzles URL preserved
- Rights handling
- Legacy Crafty Puzzles archive material — This material was present on the historic Crafty Puzzles website supplied by the site owner. Individual legacy asset rights have not been independently re-verified, so it should not be reused elsewhere without separate permission. Read the site-wide policy